See How an Ultrasonic Transducer Is Built
A 45-second look at the components, assembly, representative replacement converters and impedance testing shown in our transducer video.
How to Choose Ultrasonic Transducers
See the frequency, power and fit checklist
Match frequency and power
Start with the operating frequency and rated power of your existing system or planned application. The generator, transducer and connected tooling need to work as a matched assembly. A similar-looking converter is not enough: compare the stated frequency and power rating on the product page with the information on your generator and the equipment it drives. If you are replacing an installed unit, keep the original model number and equipment label available while you compare options.
Check the physical interface
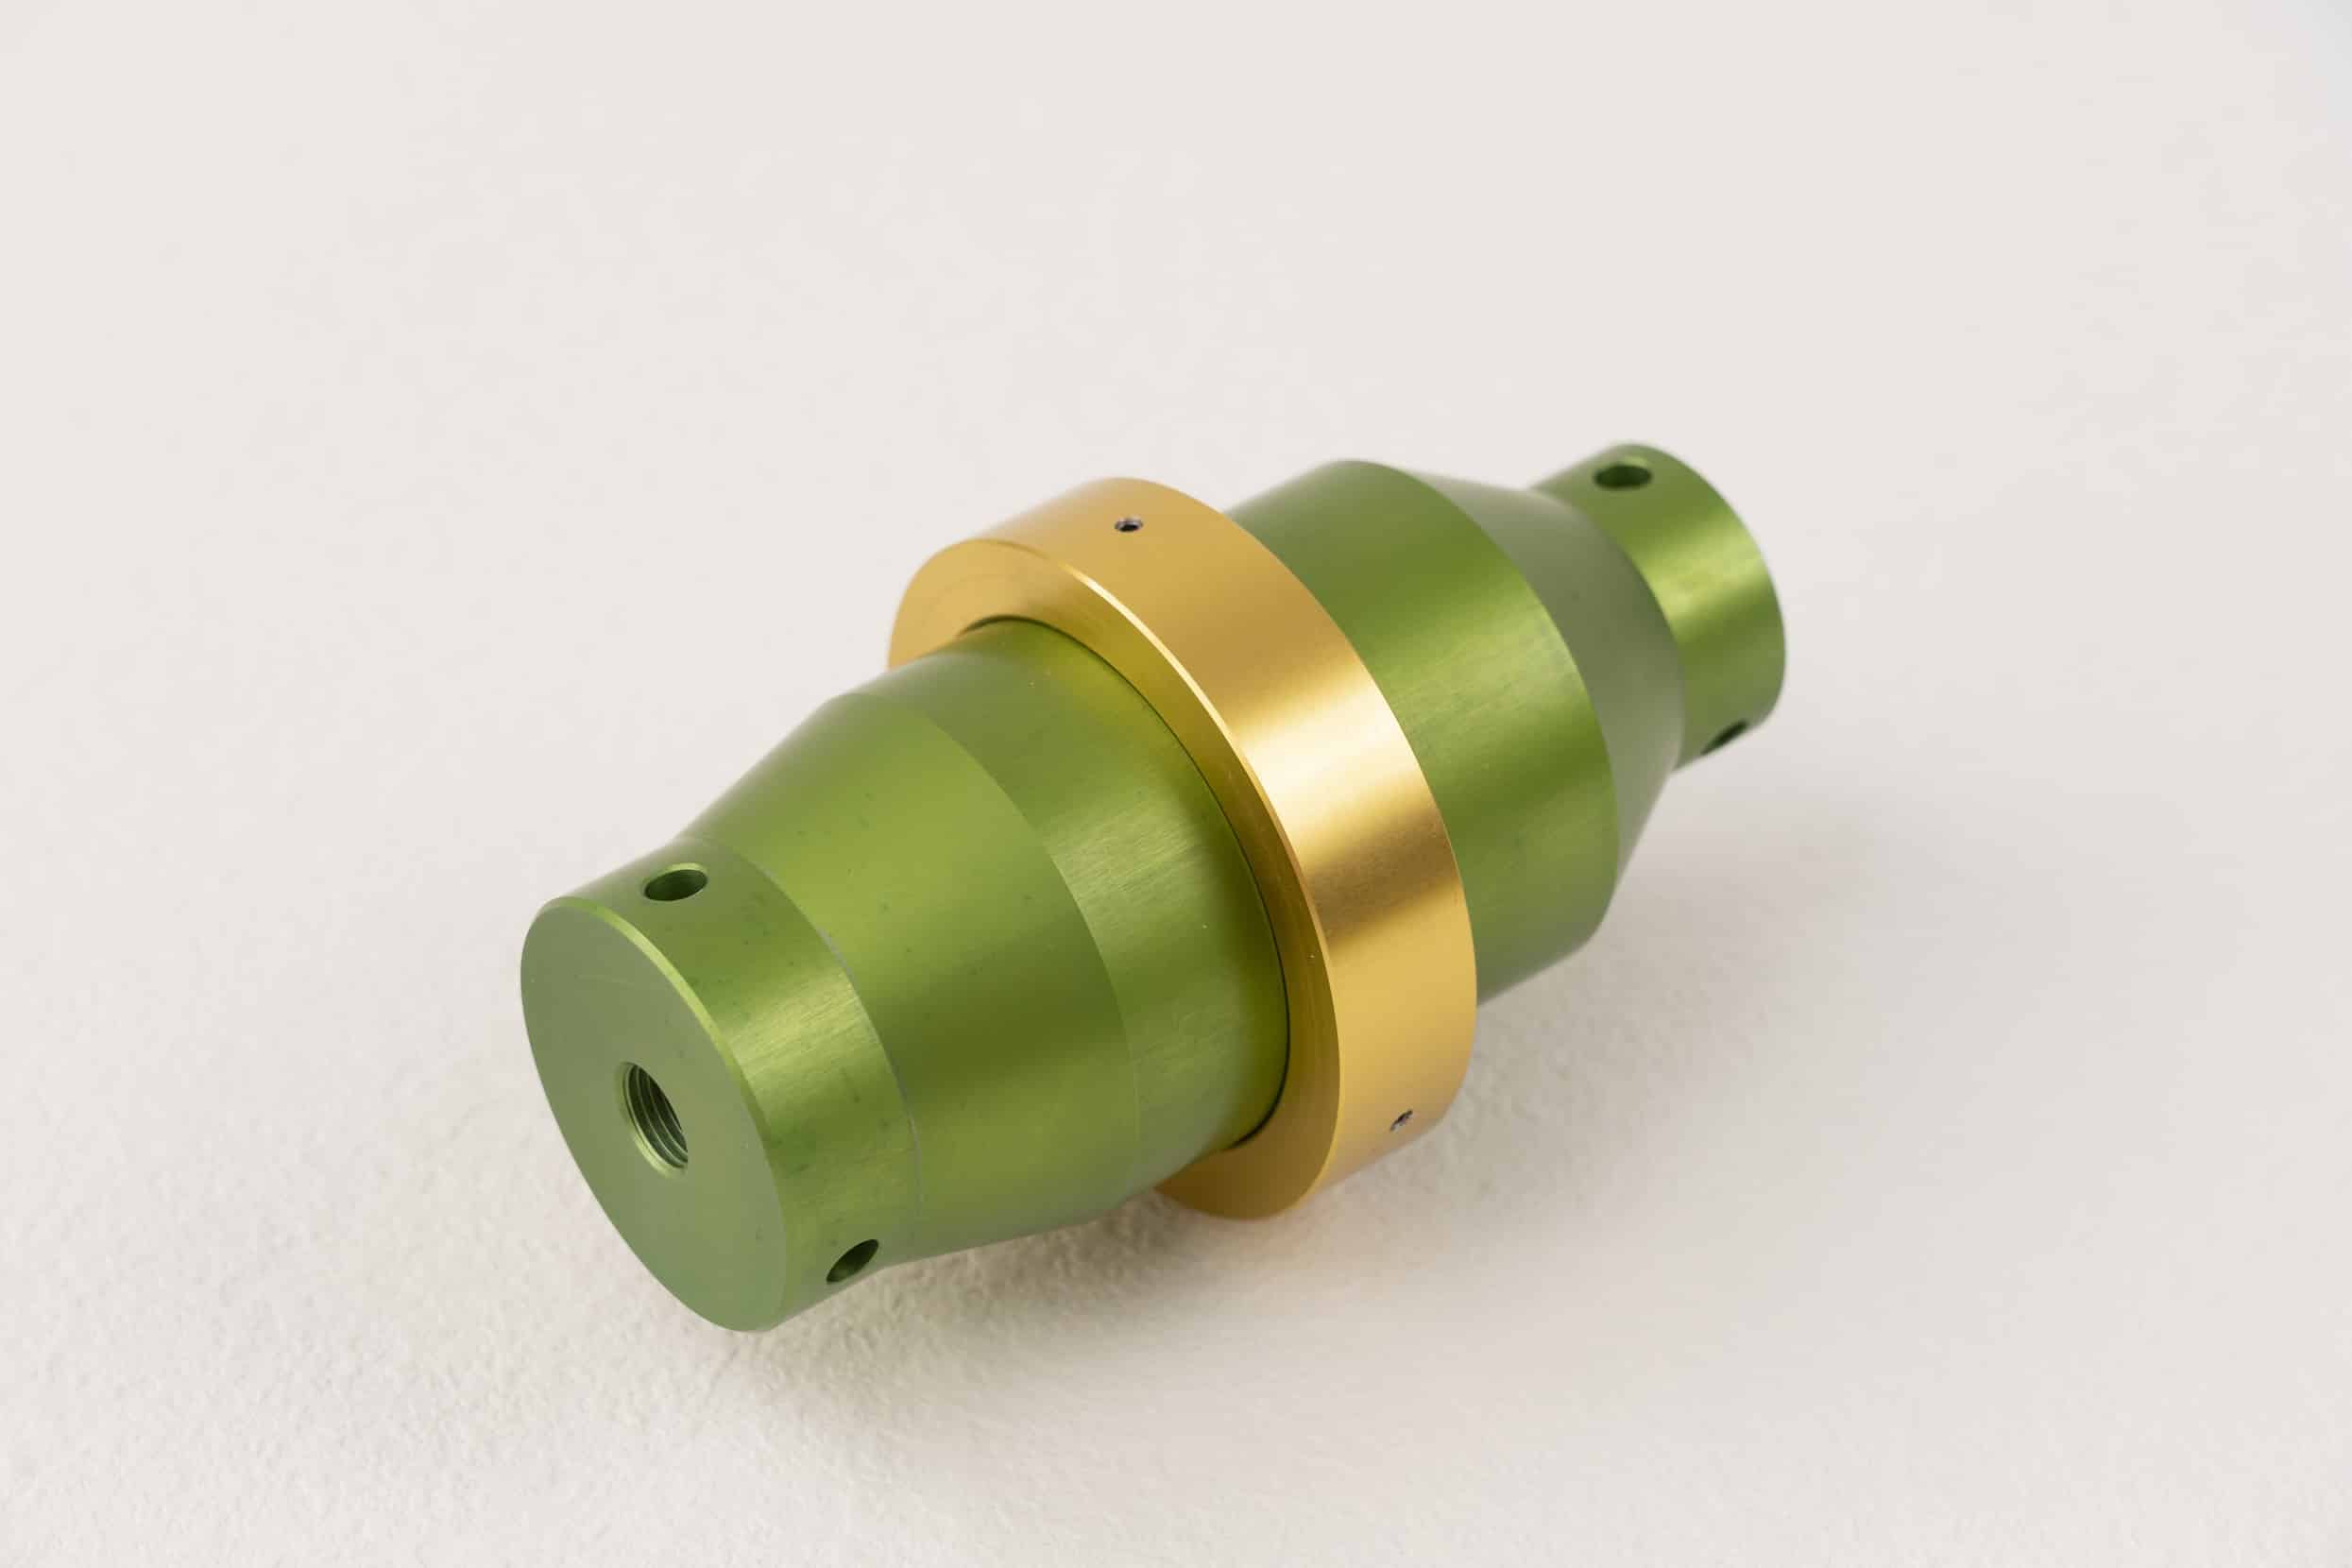
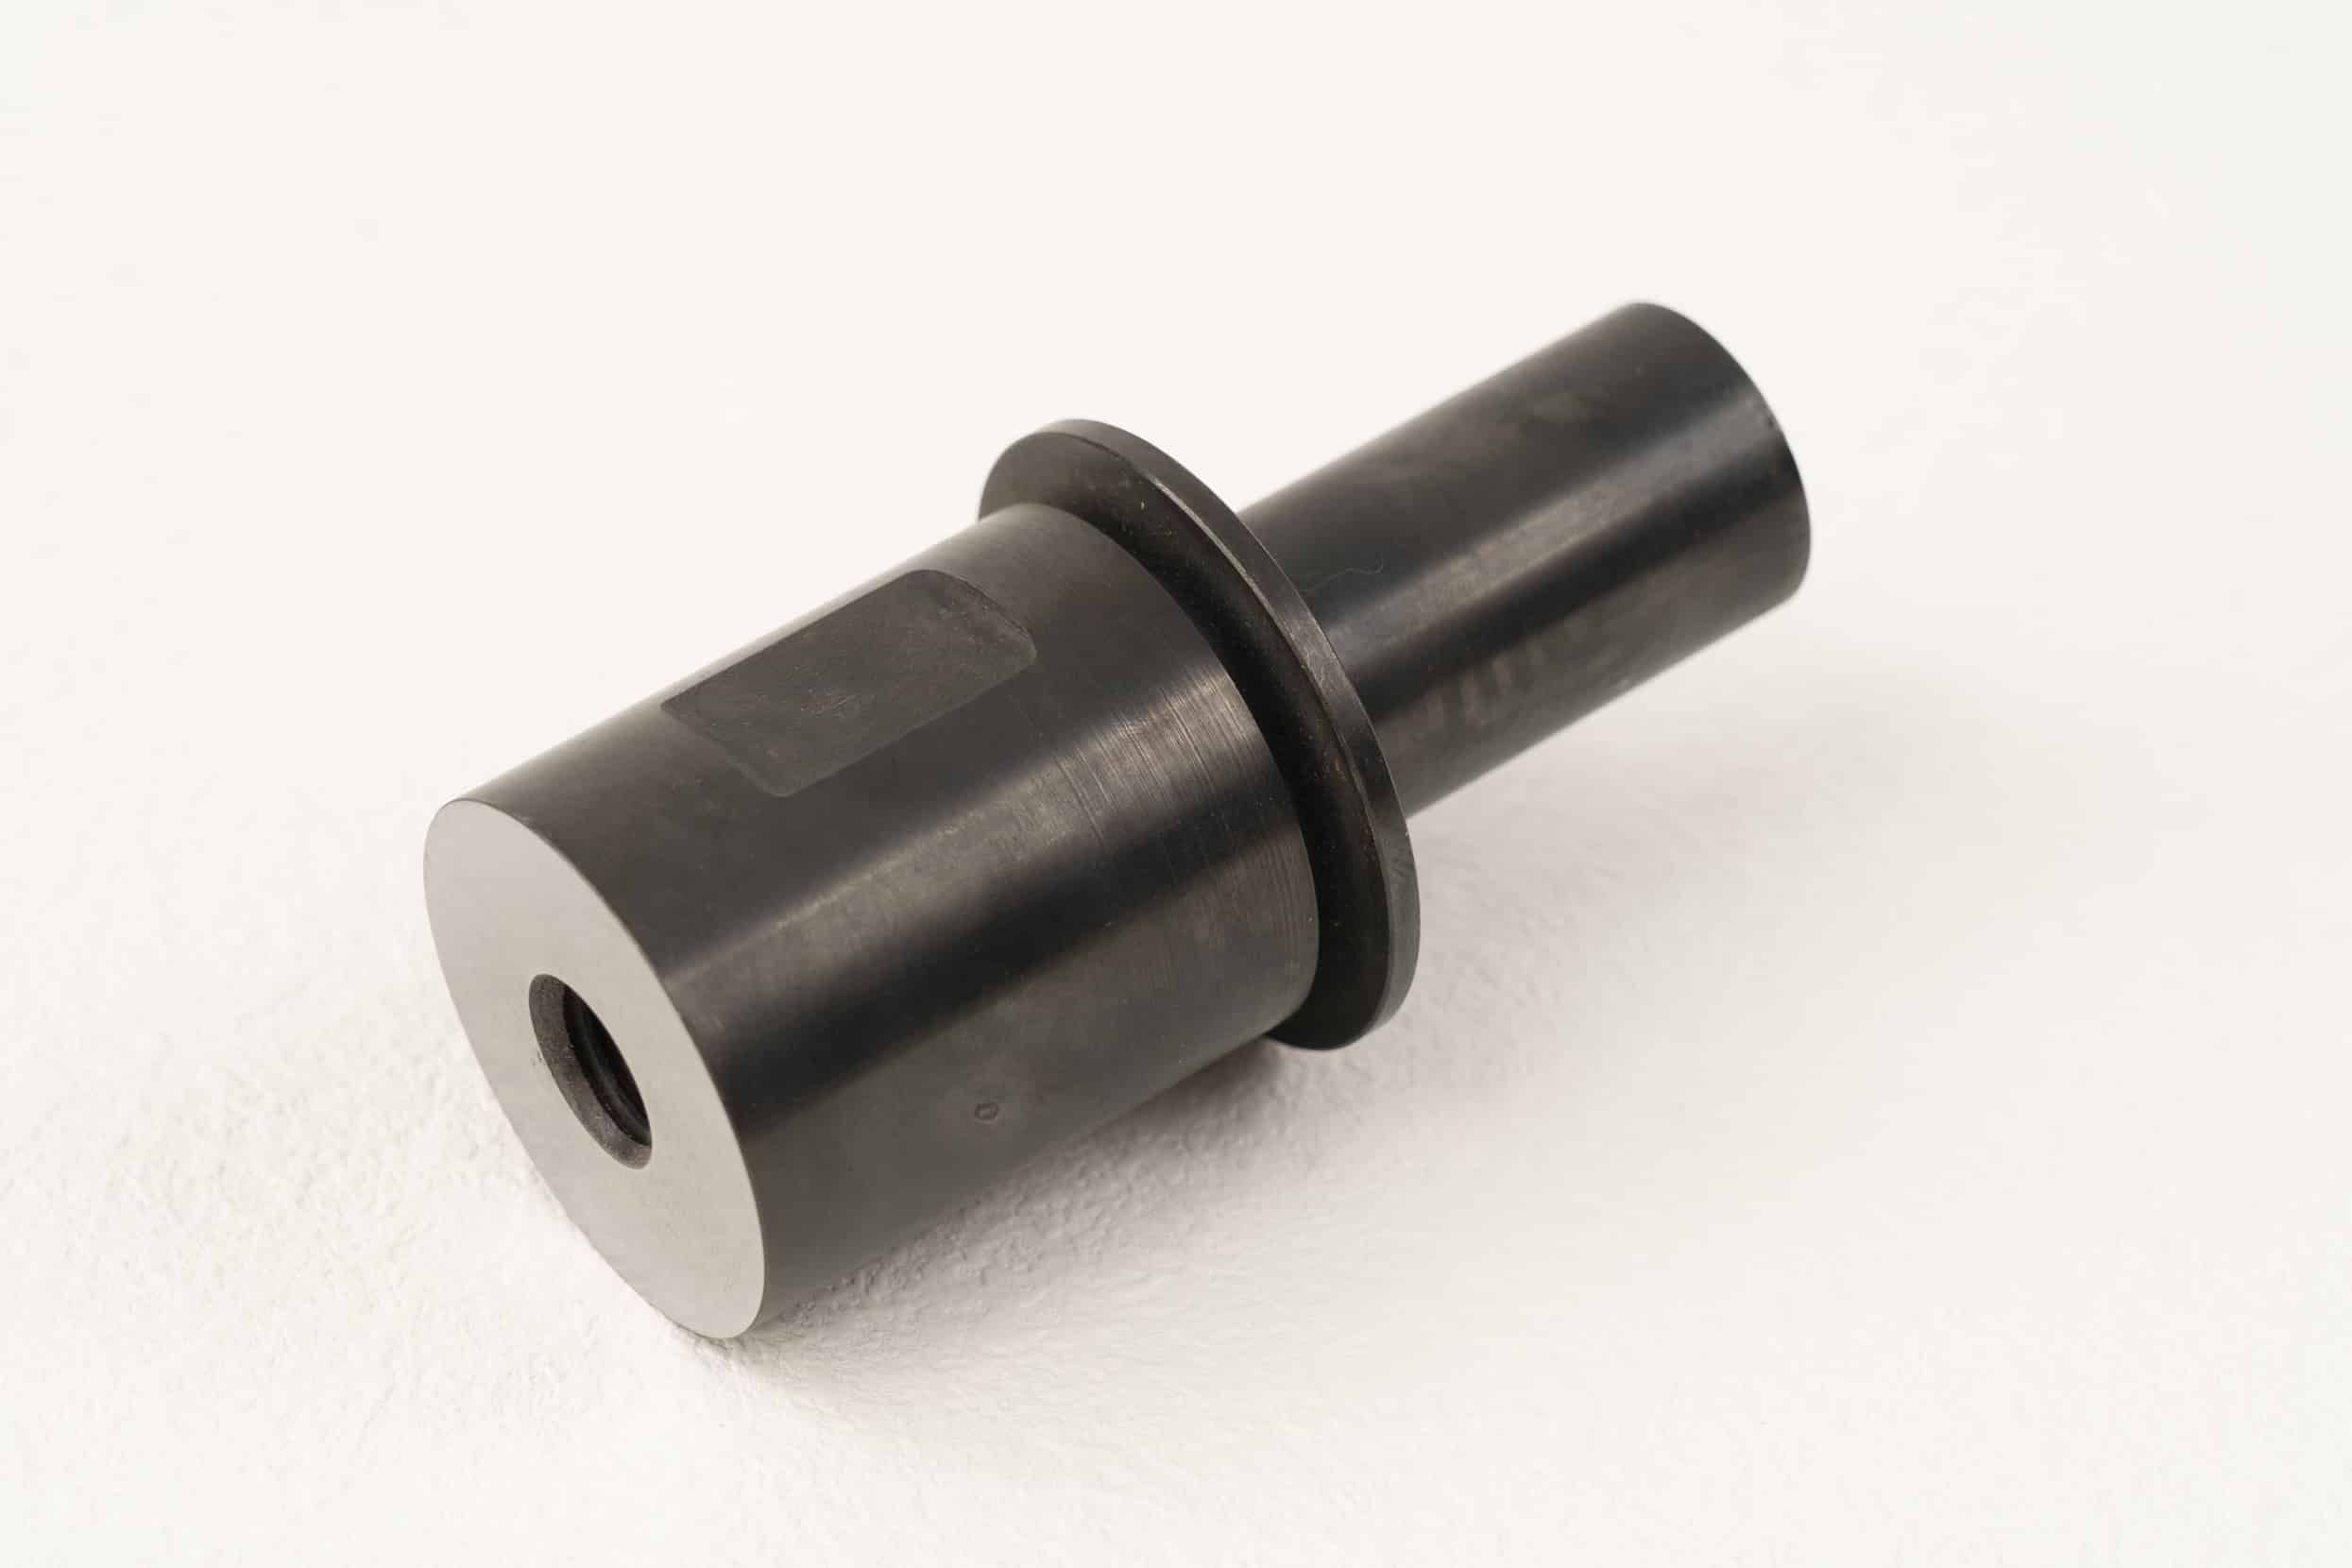
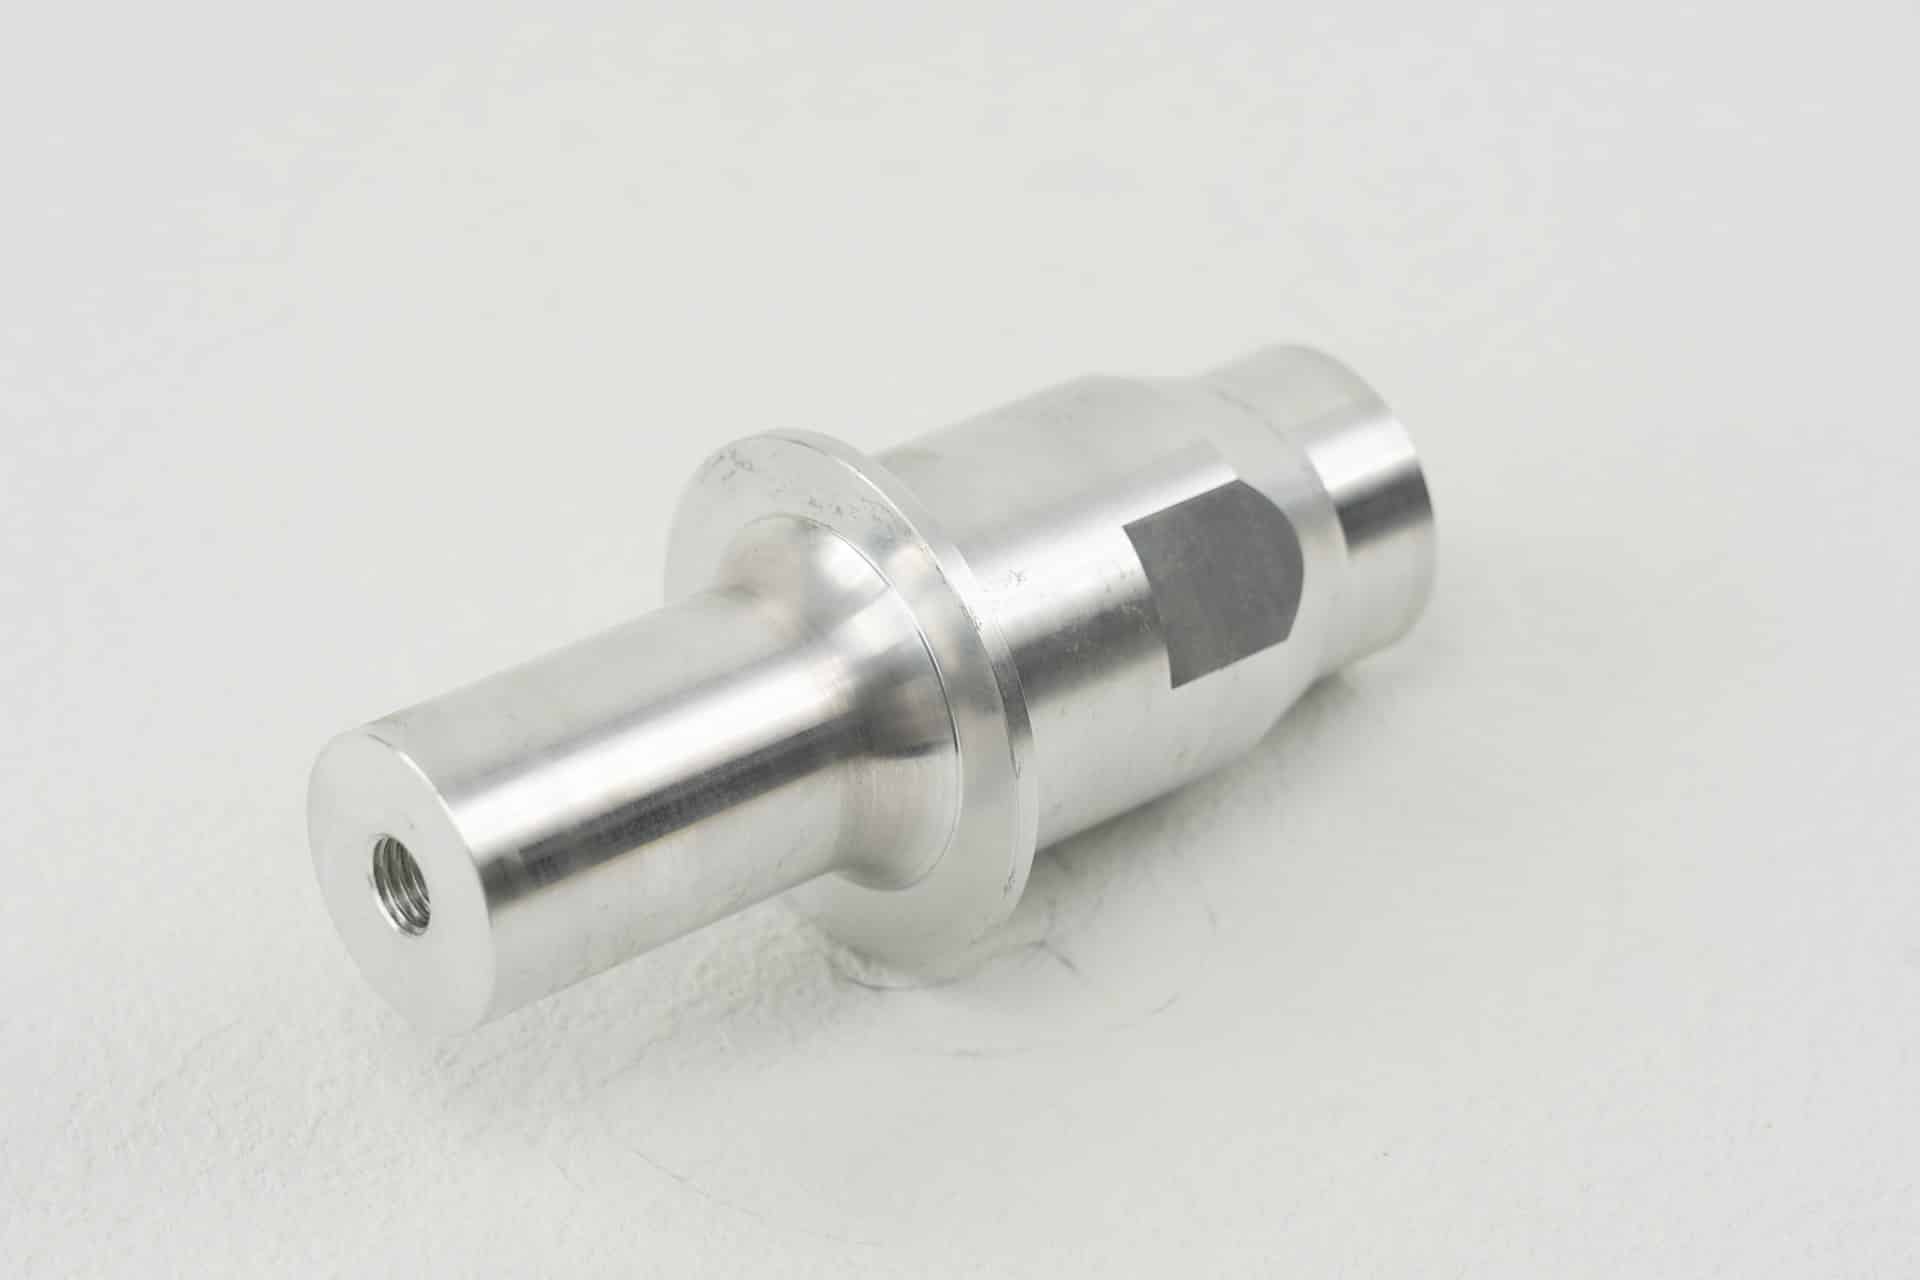
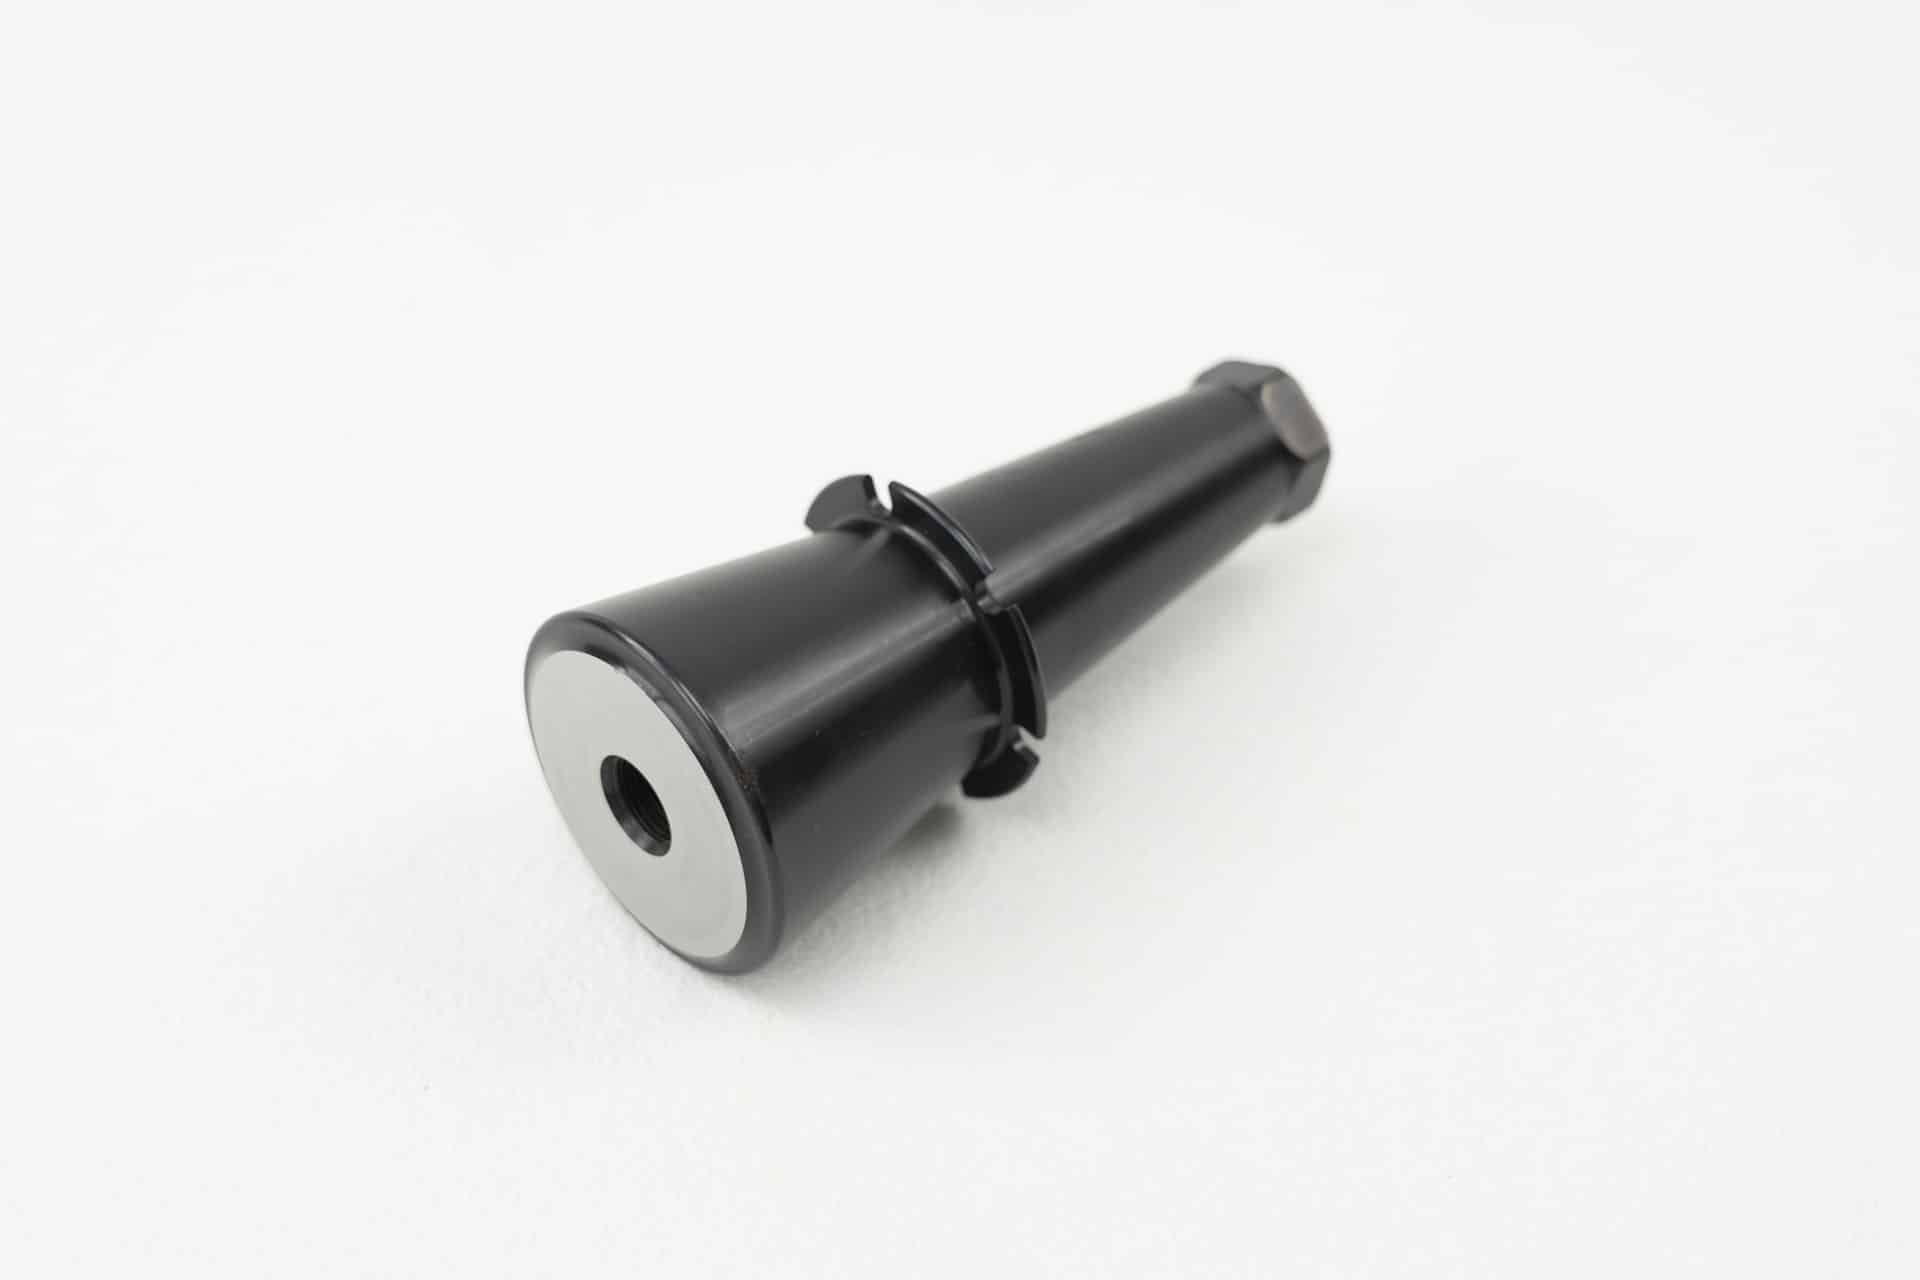
Confirm the front thread, mounting dimensions, body diameter, overall length and cable or connector arrangement. These details determine whether a transducer can be installed in the available space and connected to the rest of the stack. Product photos help identify a possible match, but dimensions and interface details should decide the selection. If your setup includes a booster or horn, check the connection between those parts as well as the connection to the generator.
Confirm a replacement before ordering
Our catalog includes models listed for several equipment families, alongside standard ultrasonic transducers. A replacement label is a starting point for comparison, not a guarantee that every machine variant uses the same interface. Share the original transducer model, frequency, power rating and clear photos of its mounting face and connector when you need help narrowing the choice. You can also read our transducer selection guide for a longer explanation of the selection steps.
Transductor ultrasónico
30kHz 800Watt F30STR
El precio original era: $230.00.$200.00El precio actual es: $200.00.
13% Off
30kHz 1200Watt F30-ST-1
El precio original era: $250.00.$230.00El precio actual es: $230.00.
8% Off
30kHz 1200Watt F30-SA-1
El precio original era: $250.00.$220.00El precio actual es: $220.00.
12% Off
28kHz 600Watt F30-ST-1
El precio original era: $240.00.$207.00El precio actual es: $207.00.
14% Off
28kHz 600Watt F30-SA-1
El precio original era: $208.00.$184.00El precio actual es: $184.00.
12% Off
28kHz 600Watt F25-SA-1
El precio original era: $220.00.$184.00El precio actual es: $184.00.
16% Off
28kHz 2000Watt F50-SA-1
El precio original era: $250.00.$190.00El precio actual es: $190.00.
24% Off
28kHz 1000Watt F38-AA-P
El precio original era: $220.00.$190.00El precio actual es: $190.00.
14% Off
20kHz Branson Booster; Gain 1:1
El precio original era: $600.00.$350.00El precio actual es: $350.00.
42% Off
20kHz Booster; Gain 1:3
El precio original era: $180.00.$165.00El precio actual es: $165.00.
8% Off
20kHz Booster; Gain 1:1.25
El precio original era: $180.00.$165.00El precio actual es: $165.00.
8% Off
20kHz 800Watt Transductor (Carcasa de aluminio)
El precio original era: $300.00.$280.00El precio actual es: $280.00.
7% Off
20kHz 4000Watt K50-SA-1
El precio original era: $400.00.$360.00El precio actual es: $360.00.
10% Off
20kHz 300Watt Transductor (Carcasa de aluminio)
El precio original era: $300.00.$280.00El precio actual es: $280.00.
7% Off
20kHz 2000Watt Transductor (Ventilador de refrigeración interior)
El precio original era: $450.00.$400.00El precio actual es: $400.00.
11% Off
20kHz 2000Watt Transductor (Carcasa de aluminio)
El precio original era: $360.00.$330.00El precio actual es: $330.00.
8% Off
20kHz 2000Watt F50-SA
El precio original era: $220.00.$180.00El precio actual es: $180.00.
18% Off
20kHz 2000Watt Branson 803 /8700 Reemplazo
El precio original era: $350.00.$285.00El precio actual es: $285.00.
19% Off
20kHz 1200Watt Transductor (Carcasa de aluminio)
El precio original era: $300.00.$280.00El precio actual es: $280.00.
7% Off
20kHz 1200Watt Branson 900 Reemplazo
El precio original era: $300.00.$260.00El precio actual es: $260.00.
13% Off
15kHz Booster; Gain 1:2.5
El precio original era: $180.00.$165.00El precio actual es: $165.00.
8% Off
15kHz 2600Watt F60-SA-1
El precio original era: $280.00.$220.00El precio actual es: $220.00.
21% Off